Creating Temporary and Permanent Filters
You can create temporary and permanent filters from the Inventory or Events page, or when you create report content from the Dashboard page.
Perform the following steps to create a temporary switch ports filter from the Inventory page, and then save it as a permanent filter. For this example, the filter displays all switch ports that are E_Ports.
1. Click the Inventory icon (  ), and then click Switch Ports from the drop-down list to view a list of switch ports.
), and then click Switch Ports from the drop-down list to view a list of switch ports.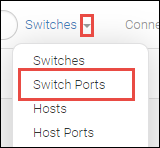
2. Click the Add button ( + ) in the filter bar (in the left corner of the page).
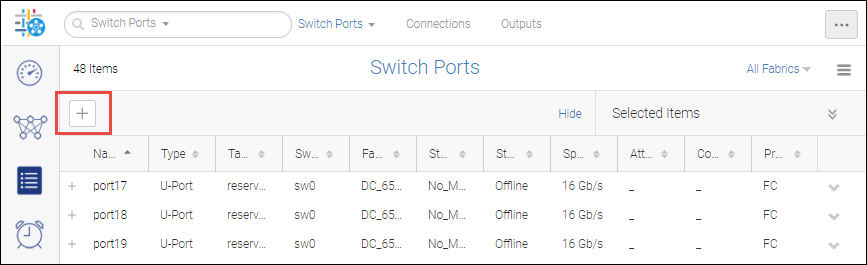
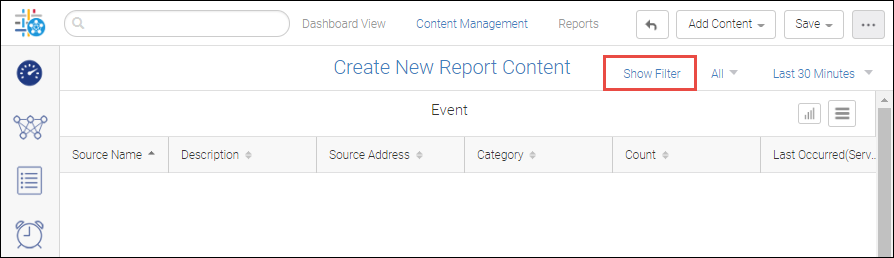
In the inventory and events pages, the filter bar is displayed by default. If you are creating a filter for a report, click Show Filter in the title bar to display the filter bar.
3. In the Add Filter dialog, click the Create New button.
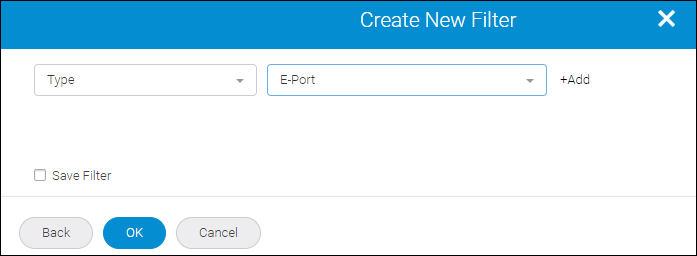
4. In the Create New Filter dialog, select Type in the drop-down list, and then select E_Port.
◦ Click OK to create a temporary filter in the Switch Ports page. This filter will not be there if you log out of the application.
Or
◦ Click the Save Filter check box, provide Name, Tags, and Description details and then click OK. The filter is saved as a permanent filter in the Filter Management page.
Parent topic