Creating Peer Zones with a Simplified Workflow
SANnav Management Portal provides a simplified way to create peer zones by selecting a storage port as the principal member and then adding host ports as peer members.
Peer zoning allows a principal device to communicate with the rest of the devices in the zone. Other non-principal devices (peers) in the zone can communicate with the principal device only; they cannot communicate with each other.
Typically a peer zone consists of a storage port as the principal member, and multiple host ports as the peer members. When you create a peer zone using the following procedure, start by selecting the storage port. The storage port automatically becomes the principal member, and the host ports are assigned as peer members.
Note: Only switches with Fabric OS 8.2.0 and later allow you to create zones using this simplified workflow.
The following procedure shows how to create a typical peer zone, which consists of a single principal member (storage port) and several peer members (host ports).
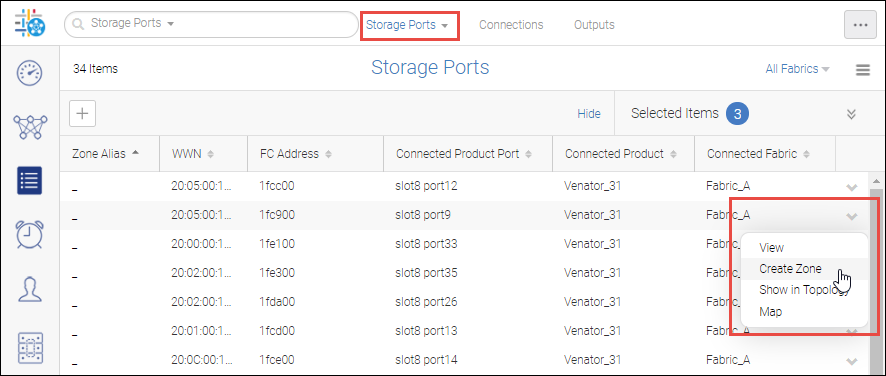
1. Click the Inventory icon (  ), and select Storage Ports from the drop-down.
), and select Storage Ports from the drop-down.2. Locate the port that you want to be the principal member of the peer zone, click the down arrow in the right-most column, and select Create Zone from the action menu.
The Create Zone dialog box displays a list of host ports that you can select to be peer members of the zone.
3. Select the peer members that you want to add to the zone and click the right arrow (  ) to move them to the Selected Members list.

4. Type a name in the Zone Name field and click Save.
Click OK in the confirmation dialog box.
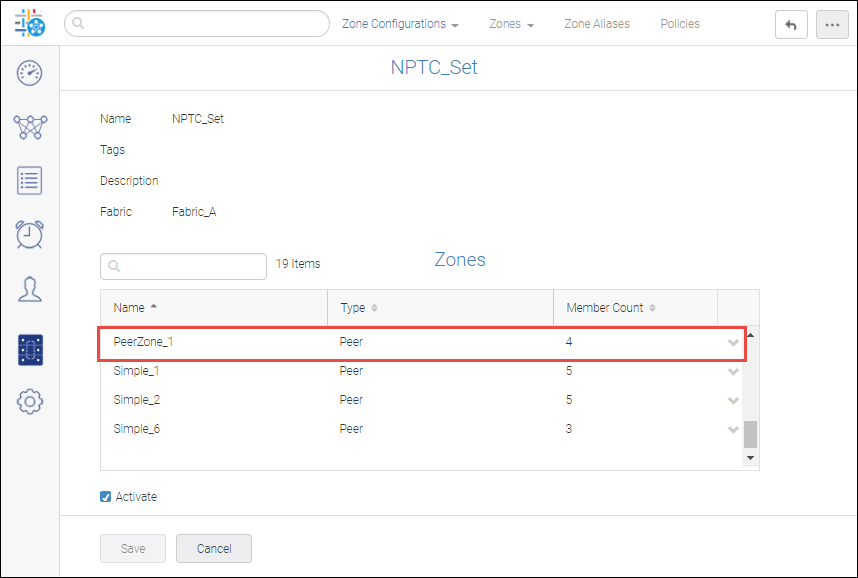
You can verify that the new zone is active in the Zone Configurations page.
The zone details page shows the zone members. The Target member (the storage port) is the principal member, as indicated by the colored icon (  ). The Initiator members (host ports) are the peer members.
). The Initiator members (host ports) are the peer members.Parent topic