Modifying a Zone Configuration
To modify a zone configuration, perform the following steps:
1. Click the Zoning icon (  ); the Zone Configurations window is displayed.
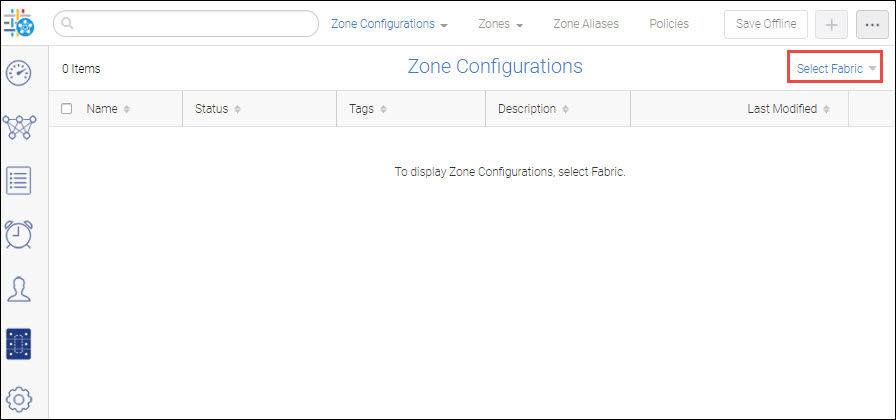
2. Select the Select Fabric option to choose a fabric.
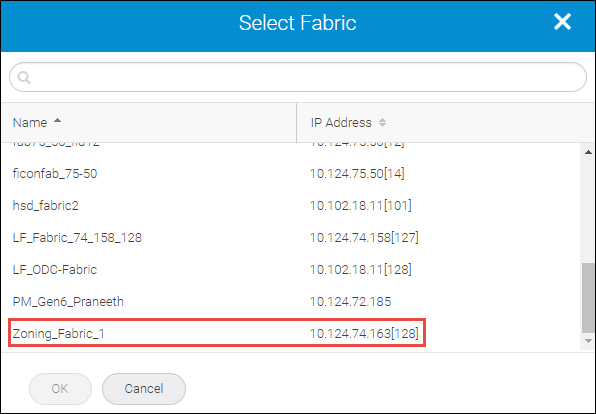
The Select Fabric window is displayed.
3. Select the fabric that you want to import and click OK.
The imported fabric with the configured zones is viewed under the Zone Configurations window.
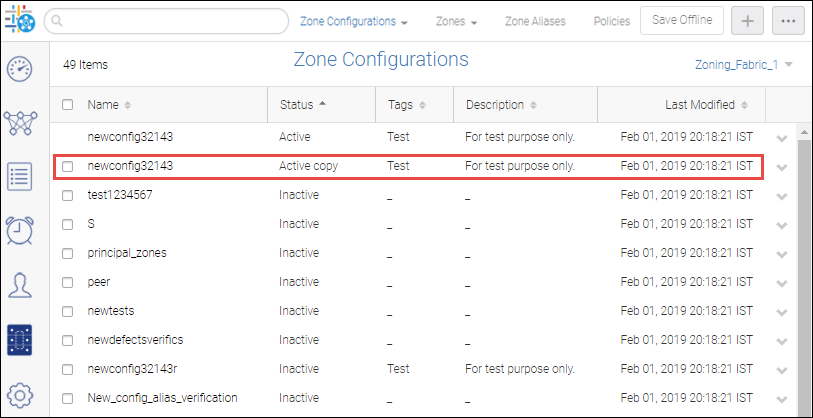
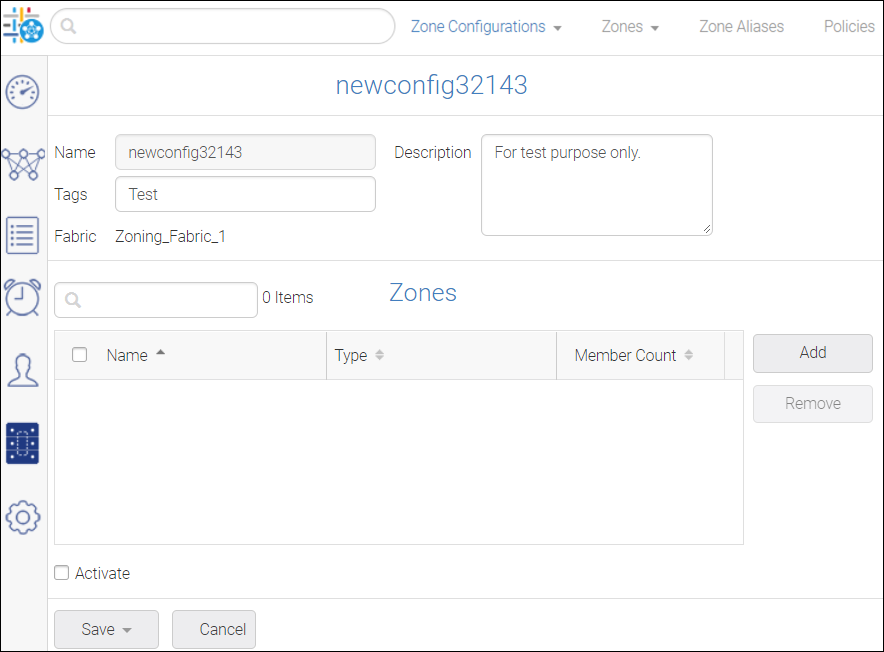
4. To modify a zone configuration, select the desired zone configuration with the Active copy status.
The selected zone is displayed. Modify (add, remove, or both) the zone(s) as required.
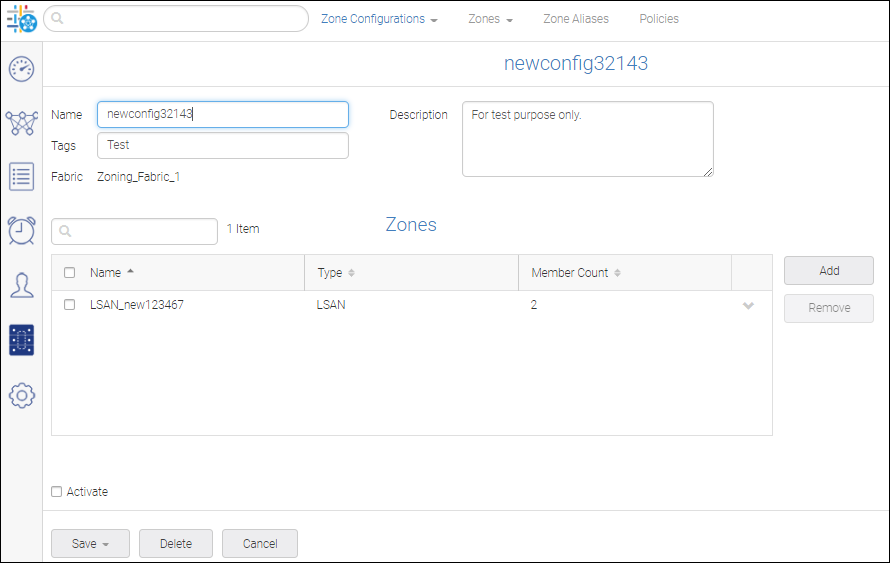
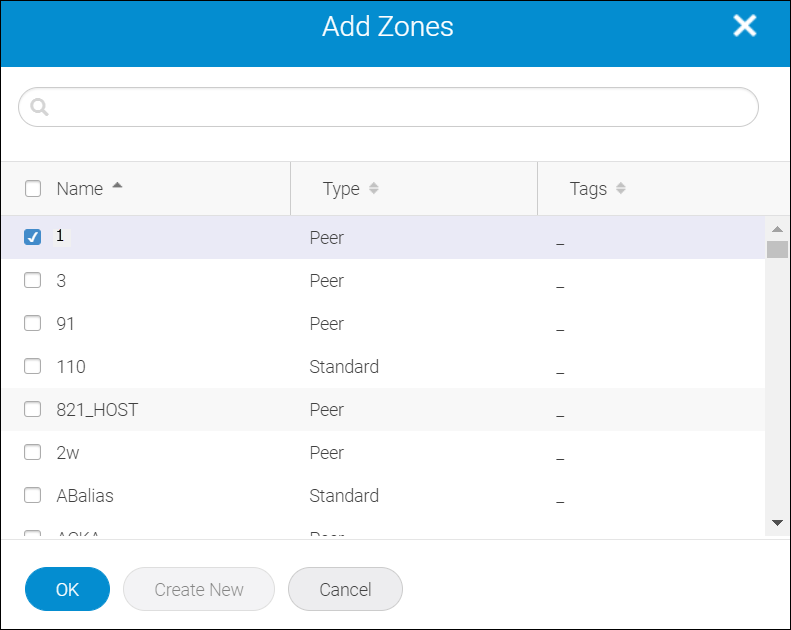
a. To add a zone, click the Add button, select the desired zone in the Add Zones window, and then click OK.
b. To remove a zone, select the zone that you want to remove, and then click Remove. The zone is removed from the Zones list.
5. Click Save from the Save drop-down.
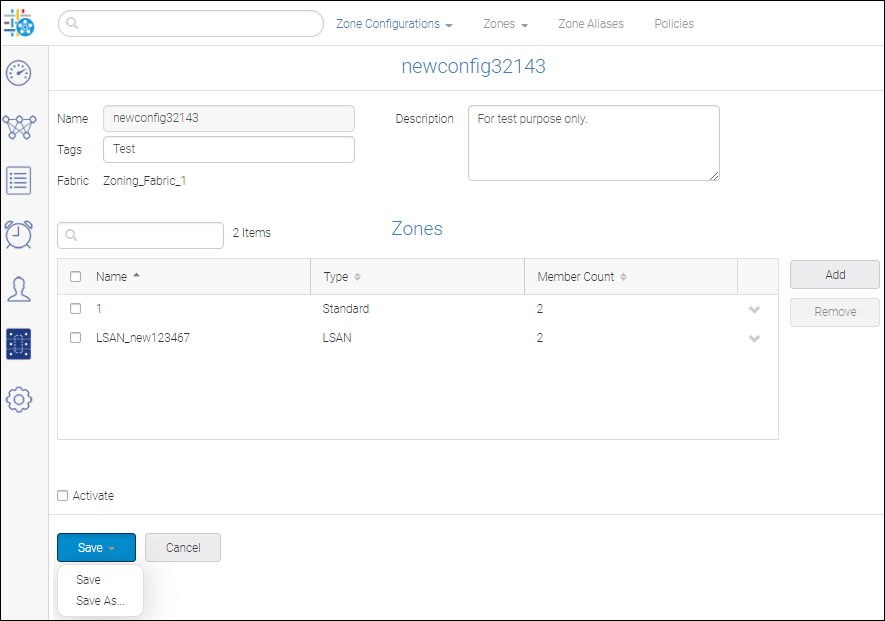
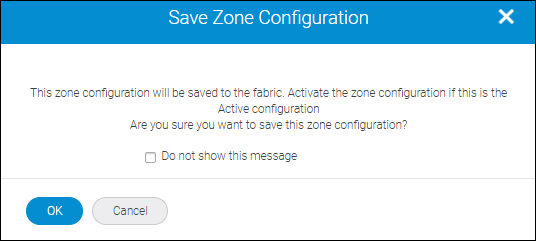
The Save Zone Configuration popup appears.
6. Click OK to save the changes.
The modified zone configuration can be viewed under the Zone Configurations window.

Parent topic